
Thinking of Giving Your Alcove a Makeover? Join Us As We Take a Look At How Fionnuala Tackles Her Tricky Space with Wallpaper!
Thinking of giving your alcove a makeover? Join us as we take a look at how guest blogger Fionnuala from Three Sons Later uses our Queensbury Midnight Wallpaper to update her space.
Alcoves, halls, and corridors can be very difficult to style. Done well, they can look stunning and lift a home to a new level. Such nooks are ideal spots for storage. That said, storage tends to lean more towards function than form. A little creativity is all it takes to make a dull alcove into a stylish storage solution.
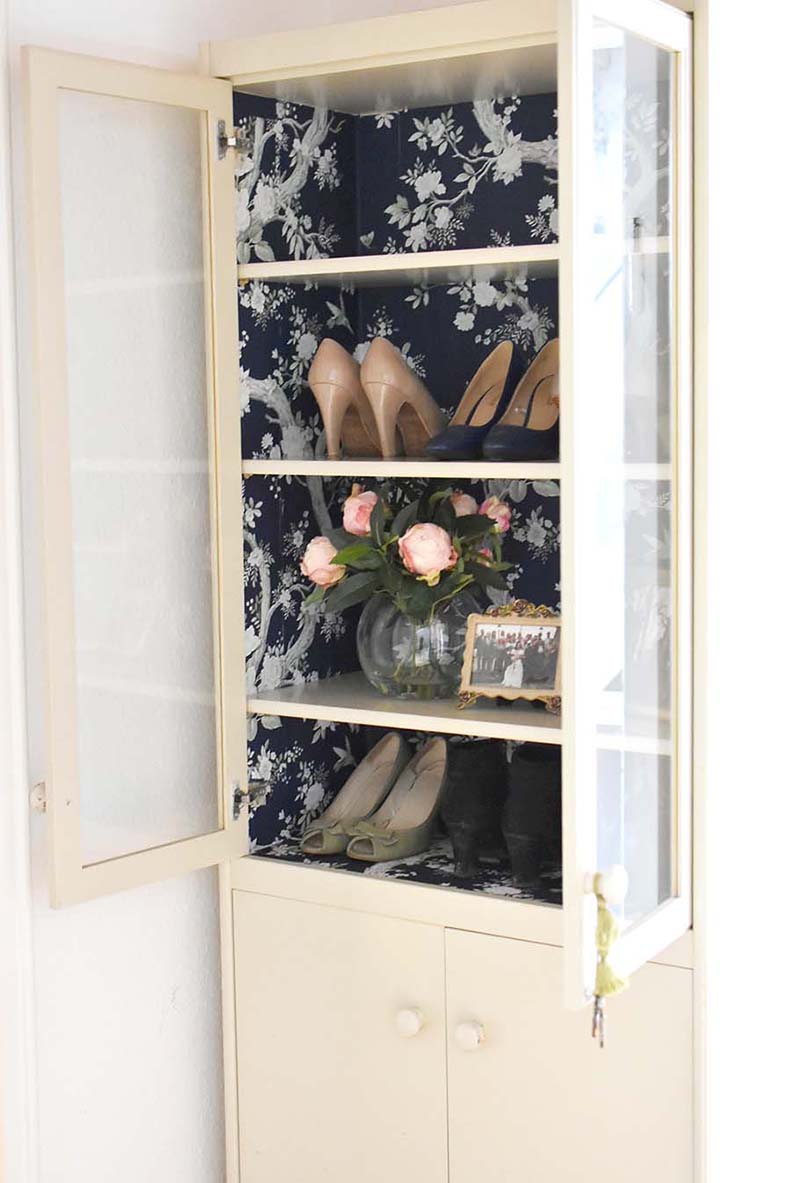
On our landing, there is a triangular space that was left when the previous owners added a plasterboard wall in order to make two rooms out of one. The solution with the two rooms suits us since it provides us with the extra bedroom we needed. The odd little triangle of space with three doors leading off it, well, not so much. For years it has simply been a space to walk through on the way to bed. It was a space with no real purpose but not without potential. So, when I spotted a glass-fronted cabinet with the perfect measurements, I grabbed it and looked for inspiration.
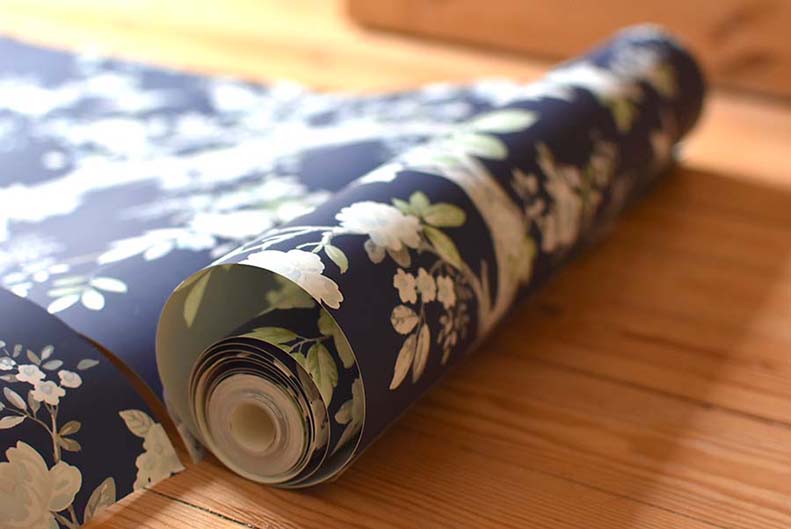
My go to plan for old furniture is to paint it – it suddenly struck me that wallpaper could be just the solution I was looking for. I ordered one roll of Queensbury Midnight Wallpaper. The darkness really appealed to me because of the contrast with the off-white coloured cabinet.
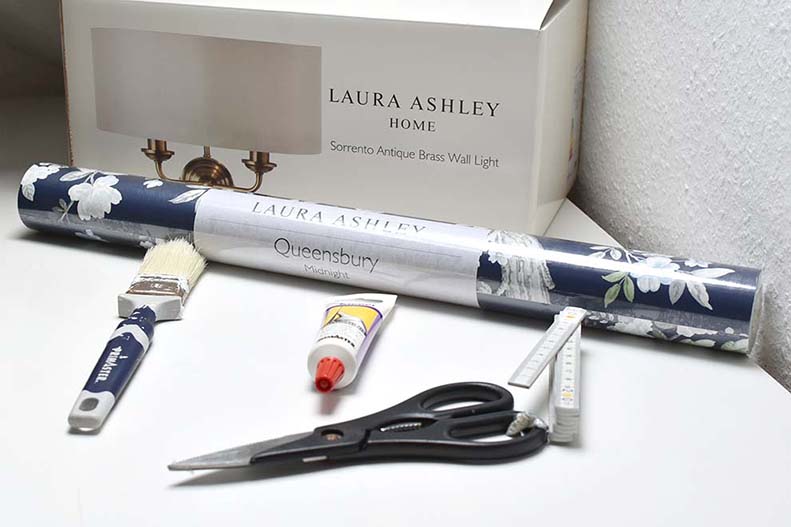
To wallpaper the inside of the cabinet, I needed a measuring tape, pencil, wallpaper paste, an X-acto knife, scissors, a metal ruler, a brush for the paste, and of course my chosen wallpaper. The first step was to remove the shelves. I then measured the inside dimensions of the walls of the cabinet.
The next step was to cut the wallpaper to size. The roll of wallpaper came with some handy instructions, ideal for someone like me who has never hung wallpaper before. For the back panel of the cabinet, I wanted the seams to be as invisible as possible so I chose to centre one panel of wallpaper on the back wall, equidistant from the corners. I measured and cut this section and then measured and cut the panels for the remaining part of the back wall as well as the left and right sides.
The important thing to remember here is to line up the pattern properly so that you have a continuous pattern across the inside of the cabinet. Allow yourself plenty of time and space for rolling out your wallpaper and measuring correctly. It will save you a lot of bother once you being to hang the wallpaper.
Lining up the pattern exactly took patience. Panel by panel I smoothed down the wallpaper with a metal ruler, taking extra care at the corners to avoid wrinkles and tears. Using the X-acto knife and the ruler, I trimmed the edges of the wallpaper to give a neat finish and left it to dry.
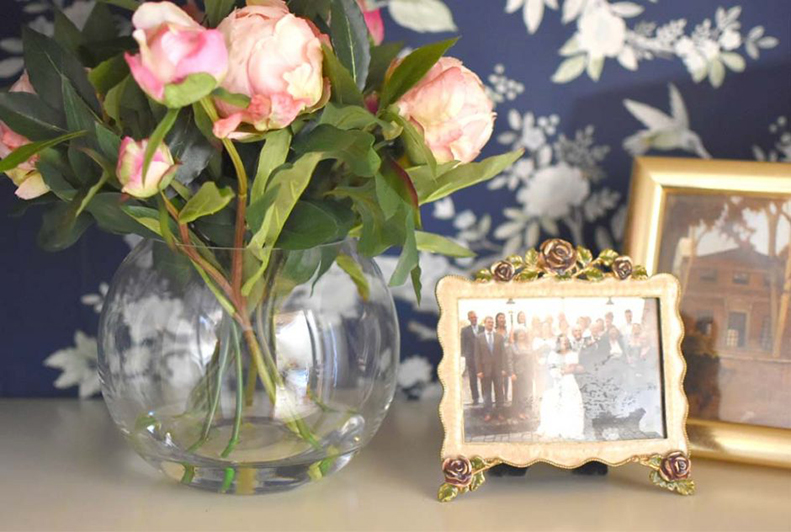
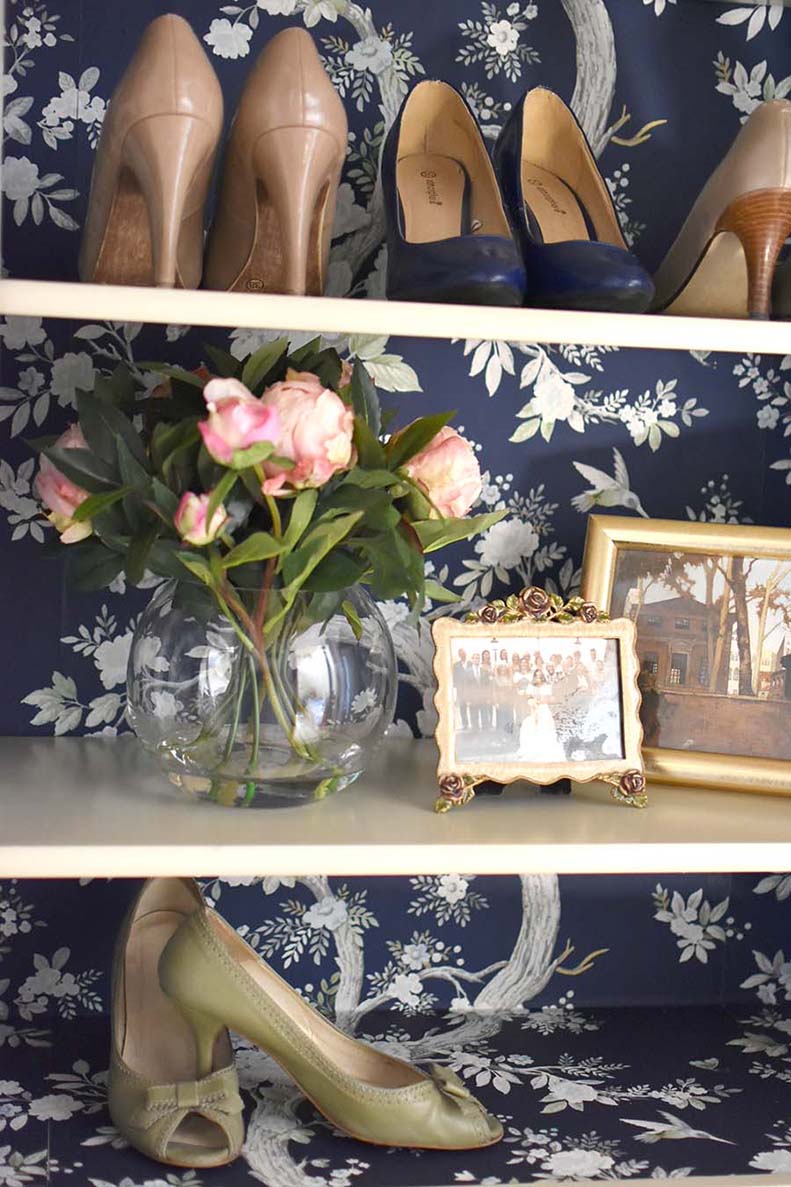
The shelves of the cabinet were in perfect condition and didn’t need any touching up with paint. All I had to do was to insert the shelves at the correct heights and decide what to place in my new upgraded cabinet. I had styled my shelves with my favourite shoes, some treasured photos and print and a gorgeous bunch of faux peonies. The splash of pink is a beautiful contrast to the darkness of the midnight blue wallpaper.
Do you have an awkward alcove that you need to tackle? Let us know how you go about giving it a makeover below or @LauraAshleyUSA.