We have such a treat for you animal lovers! The wonderful Claire from Claireabellemakes has created an adorable pet bed, which her cat Tammy absolutely loves. Claire is sharing this wonderful craft with us so that we can replicate it for our own sweet pets. Let’s not forget, animals love Laura Ashley, too! Now we’ll hear from the lovely Claire herself on how to make these pet beds…

This DIY today is a project for pet lovers. I have a Persian cat named Tammy and she is a big fan of cushions. If there is a cushion available, she will sit on it and take a cat nap. So, I wanted to use the pretty Beatrice Cyclamen fabric to make her something to rest and snuggle on. What a lucky kitty!

This bed will be suitable for a small cat or puppy. If you don’t sew, you can replace all of the sewing sections with fabric glue (I like to use Fabri-Tac), but it is very simple and only requires sewing in straight lines. So here’s what you’ll need to make a simple pet bed:
- Wicker picnic basket
- Beatrice Cyclamen Floral Linen Mix Curtain Fabric
- Normal size bed pillow
- Sewing machine & thread
- Pins
- Tape measure
- Fabric scissors
The basic idea of this DIY tutorial is to make an envelope cushion and place it into the wicker basket. It’s that easy! For any fabric DIYs, it’s always best to pre-wash the fabrics to prevent shrinking.

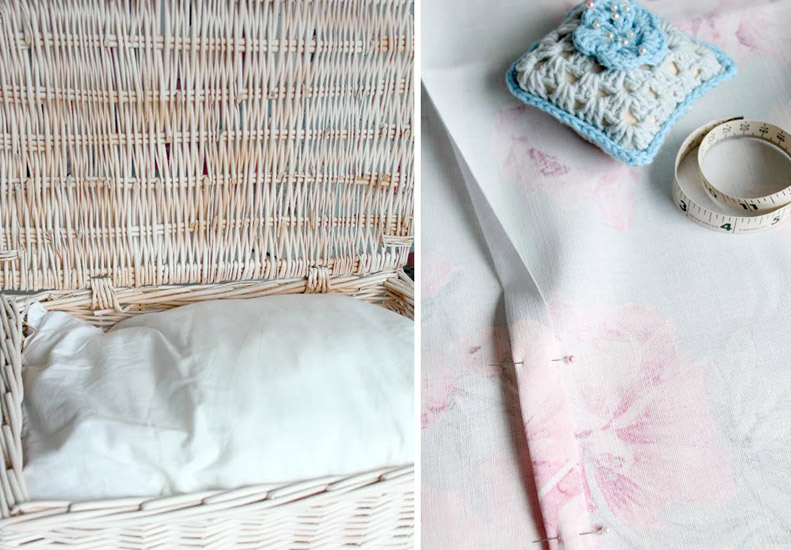
Begin by folding your pillow in half and tack the short ends together. I used an old bed pillow to make it super plump, but you could use a standard cushion pad that will fit into your basket and fill the space.

Lay your fabric out and cut a piece which measures 38 inches x 20 inches. You can press the fabric if you wish. For a larger pet, you can use a larger basket and pillow, and then adjust your fabric measurements accordingly.

Fold and pin a 1/2 inch hem on each short edge of the fabric. Using the sewing machine on a straight stitch, stitch the hems in place. Lay out the fabric with the right side facing down and fold the two short edges in towards the middle. You will need to overlap the two short ends of the fabric around 4-6 inches. This will create the ‘envelope’ opening where you will insert the cushion. I worked out my overlap by folding the fabric over the cushion. Pin the sides and stitch along each one with a straight stitch using the sewing machine. Your cushion cover is then ready to be turned out the right way. Insert the cushion, then place it into the wicker basket.

Now your pet is ready to snuggle! I added a simple paper bunting banner for Tammy too, which I think looks really sweet. You could also add little hooks for your pet’s favourite toys. We plan to put the pet bed near the heaters so Tammy can stay warm in the winter. When you need to wash the bed, just remove the cushion cover and wash in the machine.

I hope you have enjoyed this simple DIY tutorial today! Thank you for your lovely crafting, Claire, and thank you to Tammy for modelling the pet bed so wonderfully! What do you think of Claire’s pet bed? Let us know below or on Twitter @LauraAshleyUSA.


