
If you are one of the millions who has embraced DIY or learned how to sew, quilt, or knit in the last year, we created something just for you!

In honour of our Summer Days Quilting Collection, available at Fabric.com, we are offering a free quilt pattern.
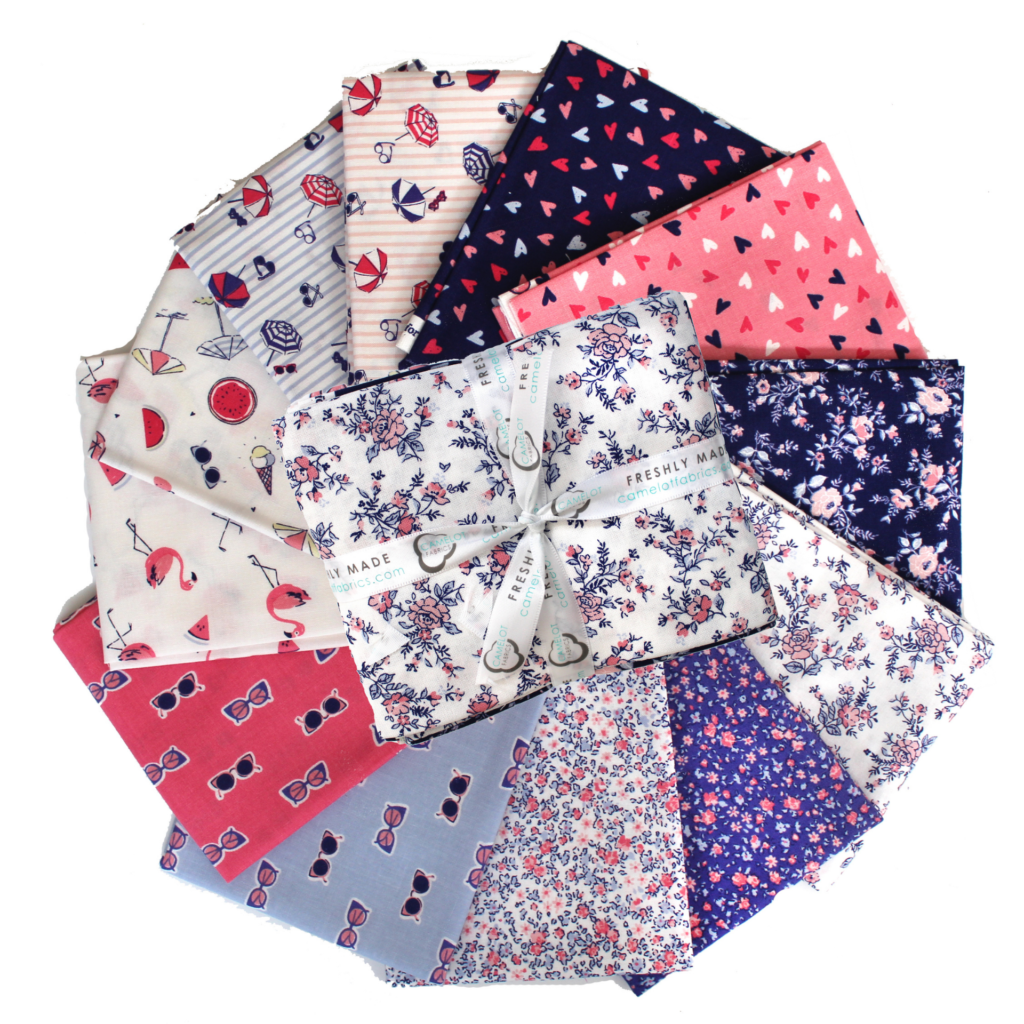
Exciting enough for long-time quilters but easy enough for intermediate quilters, the Garden Party Quilt pattern, features a mix of three Laura Ashley prints, including ditsy florals, pink hearts, flamingos, and a summer beach umbrella inspired print on the backing. The finished size is 64” x 74”.

Laura Ashley Garden Party Quilt Pattern
FABRIC REQUIREMENTS
- Fabric A: 2-1/8 yards
- Fabric B: 1-1/2 yards
- Fabric C: 1-7/8 yards (including binding)
- Suggested Backing: 4 yards
OTHER TOOLS & SUPPLIES
- Needle and coordinating thread
- Sewing machine
- Iron & pressing surface
- Rotary cutter and mat
- Fabric shears
- Straight pins
NOTES
- For best results, read through all instructions before starting.
- Please wash, dry & iron your fabrics before beginning, and trim selvages.
- Unless otherwise indicated, sew all seams with a 1/4” seam allowance.
- Press your seams open as you go.
- WOF = width of fabric

CUTTING
Fabric A Cut
(13) 5-1/2” x WOF strips. Sub-cut into:
(32) 10-1/2” x 5-1/2” rectangles. These will be referred to as piece (a).
(4) 20-1/2” x 5-1/2” rectangles These will be referred to as piece (b).
Fabric B Cut
(9) 5-1/2” x WOF strips. Sub-cut into:
(28) 7-1/2” x 5-1/2” rectangles. These will be referred to as piece (c).
(6) 14-1/2” x 5-1/2” rectangles. These will be referred to as piece (d).
Fabric C Cut
(25) 2-1/2” x WOF strips. Set aside (7) strips for Binding.
From the remaining strips:
Sew 2 strips together and trim to make a 74-1/2” strip. Repeat to make (7) 74-1/2” strips and (2) 64-1/2” strips.
PIECING
Refer to the diagram for fabric placement.

FOR COLUMNS 1, 3, 5, 6, 8, 10:
1 – Sew together the following rectangles from top to bottom: (a), (c), (a), (d), (a), (c), (a).
FOR COLUMNS 2, 4, 7, 9:
2 – Sew together the following rectangles from top to bottom: (c), (a), (c), (b), (c), (a), (c).Sew together the following rectangles from top to bottom: (c), (a), (c), (b), (c), (a), (c).
ASSEMBLY
3 – Sew all columns together from left to right while inserting one 74-1/2” x 2-1/2” Fabric C sashing strip in between the following columns:
1&2, 3&4, 5&6, 7&8, 9&10.
NOTE: For the columns that are sewn side by side without a sashing strip, make sure to line up your seams where necessary.
4 – Sew one 74-1/2” x 2-1/2” Fabric C border strip to either side of the assembled quilt top.
5 – Sew one 64-1/2” x 2-1/2” Fabric C border strip to the top of the assembled quilt top and one to the bottom. This completes your quilt top.
FINISHING
6 – Layer quilt top with batting and backing. Baste and quilt as desired.
7 – Sew the Fabric C binding strips together end to end and press seams open. Bind the quilt using your favorite method.
Be sure to check out our entire Laura Ashley quilt fabric collection available at Fabric.com.