
We never shy away from a DIY project at Laura Ashley, so we couldn’t be more excited about our latest collaboration with repurpose expert and HGTV personality Cari Cucksey. Cari is known for her ability to spot antiques and collectibles and to re-purpose vintage finds.

Likely, you’ve spotted Cari on her television show Cash & Cari or among the pages of your favourite magazines, but today Cari spruces up an antique bench with our beautiful Freshford fabric. Follow along as Cari brings this piece back to life!
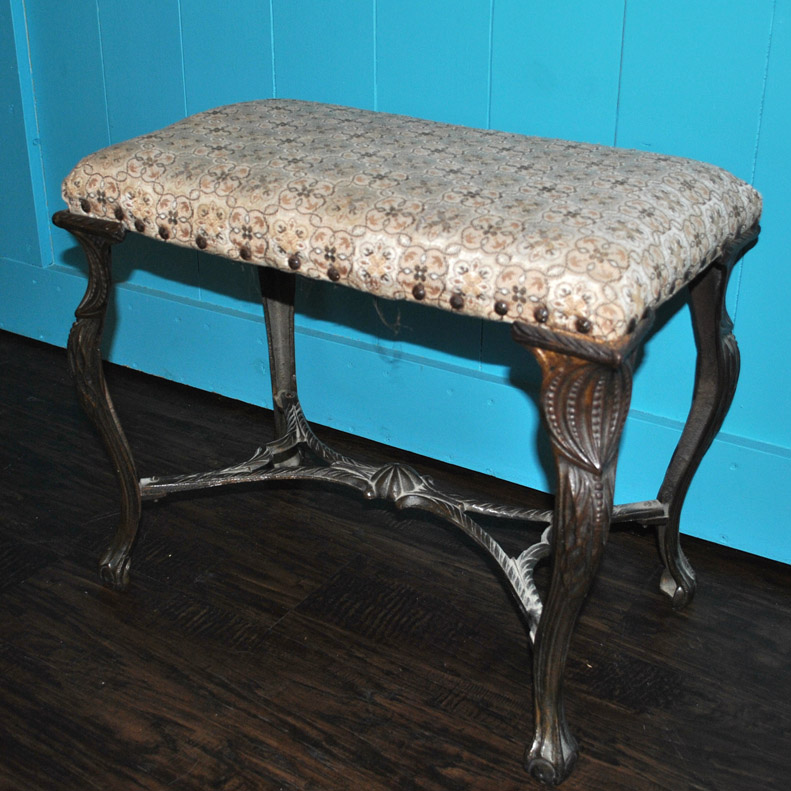
I found this little bench at an estate sale in a dusty basement corner. I loved the details of the wrought iron base and knew it could be refreshed to look new again.
Materials:
- Laura Ashley Freshford fabric
- Scissors
- Electric Stapler & Staples
- Small Flat Nose Pliers
- RePurpose ReColor Chroma Color Paint in Grand Hotel Flowers Red
- Paint Can Opener
- Paint Brush
First, I removed the screws from the seat of the bench and wiped the dust from the base. Before painting it is important to start with a clean surface. The wrought iron base was painted with two coats of my RePurpose ReColor™ Chroma Color paint in Grand Hotel Flowers Red. Allow 30-mins of drying time between coats.

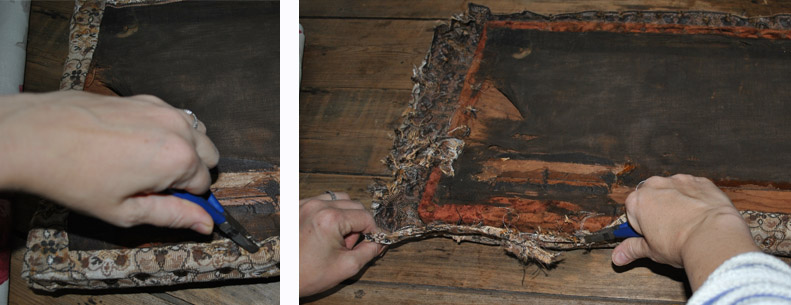
The fabric on the bench seat was decades old and in desperate need of a makeover. I carefully removed the old tacks and fabric.

Next, I centered the pattern of the upholstery fabric on the bench seat and cut it so there is enough to wrap around the edges of the seat. It is better to have more to trim off than not enough, so a few extra inches of excess fabric is okay.


I secured the fabric on each side pulling the fabric taunt to prevent wrinkling and stapled it into place. I then worked my way to each corner leaving the corners to complete as the final step.


To secure the corners– pull firmly to tuck and fold fabric and secure with several staples. Once corner is stapled, cut off excess fabric.


To finish off the upholstered seat– cut out a piece of fabric with an extra inch to fold under and hide your staples underneath. Be sure to pull securely and taunt.

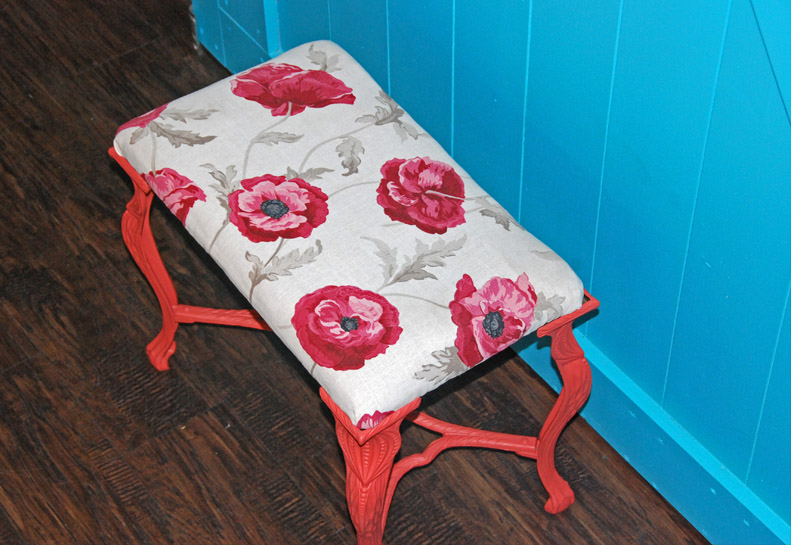
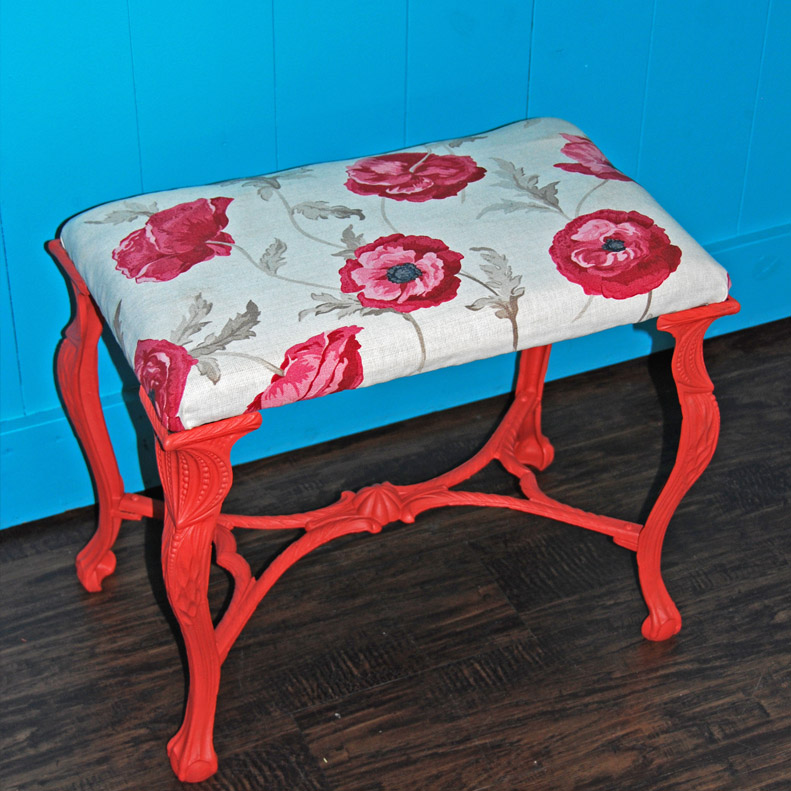
Voila! This bench went from Drab to Fab!


Look for more DIY projects from Cari coming later this year. Here Cari shows off her baby bump in our Floral Poppy Print Tunic.